
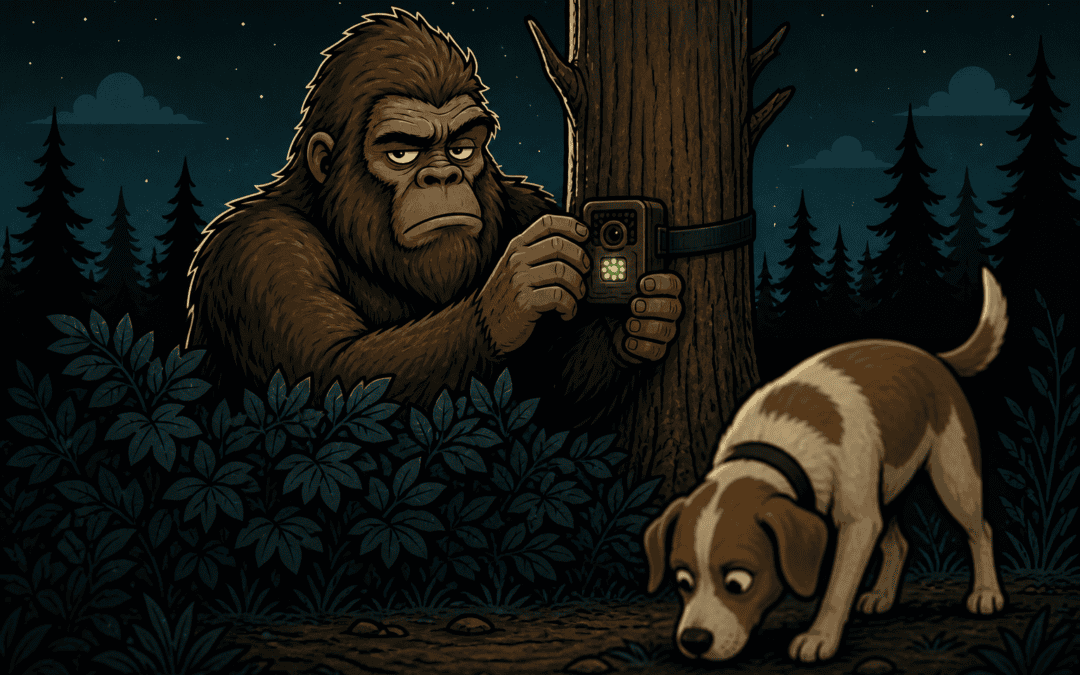
Best Trail Cameras for Catching Cryptids (or at Least Your Neighbor’s Dog)
Filed under: Field Guides | Cryptid Cynic
Trail cameras solve the single biggest credibility problem in cryptid research, and it’s not a subtle one: every human eyewitness account is filtered through adrenaline, expectation, and imperfect memory the second something startling happens. A trail camera doesn’t get scared. It doesn’t embellish. It doesn’t remember the encounter as slightly bigger and slightly closer every time it retells the story at a bar. It just sits there, unmanned, and records whatever walks past at 3 AM — which is exactly the kind of boring, unglamorous, high-integrity evidence this field desperately needs more of.
Here’s what actually matters when picking one, and five real options across budget tiers.
What Actually Matters
Trigger speed. This is the single most important spec and the one beginners ignore. Trigger speed is how long it takes the camera to actually start recording after its motion sensor detects movement. A camera with a 1-second trigger speed will consistently miss fast-moving animals entirely — you’ll get a picture of an empty trail seconds after whatever it was has already passed through frame. Anything under 0.5 seconds is the real baseline for usable wildlife documentation; under 0.3 seconds is genuinely good.
Detection range and angle. A wider detection cone means fewer blind spots, but also more false triggers from waving branches and passing insects. This is a real tradeoff, not a “bigger number always wins” spec — a narrower, well-aimed detection zone pointed at an actual game trail will out-perform a wide-angle camera pointed at open brushy field.
No-glow vs. low-glow infrared. Standard infrared night-vision cameras emit a faint red glow visible to animals (and to any curious hoaxer who might want to know exactly where your camera is, worth considering if you’re on private land). True no-glow (black flash) cameras are invisible even at night, at some cost to night image clarity. If your goal is genuinely unbiased documentation — not tipping off whatever might be nearby that it’s on camera — no-glow is worth the premium.
Battery life and storage. Anything you’re leaving in the woods for weeks needs real battery efficiency and SD card capacity, since your entire dataset is worthless if the batteries die on week two of a month-long deployment.
The List
1. Browning Strike Force Pro — Best All-Around Sub-0.4-second trigger speed, solid detection range, and genuinely good night image quality for the price point. This is the trail camera most serious wildlife researchers actually recommend as a baseline, not because it’s flashy, but because it consistently delivers on the fundamentals: fast trigger, clear image, reliable battery life. If you buy one camera off this list, this is the one to start with.
2. Reconyx HyperFire 2 — Best for Serious Documentation This is the professional-grade option, used by actual wildlife biologists for peer-reviewed field studies, which tells you everything about its reliability. Trigger speed under 0.2 seconds, exceptional battery life (some models rated for a full year on a single set of batteries), and image quality that holds up to genuine scrutiny. It’s a real investment, but if your goal is building a body of documentation you’d actually stand behind, this is the camera that removes “the equipment was inadequate” as a possible objection to your findings.
3. Moultrie Delta Base — Best Budget Option A genuinely solid entry-level camera for someone who wants to try this out without a major investment. Trigger speed and detection range are noticeably behind the two above, and night image clarity is a step down, but it’s a real, usable camera rather than a toy, and a fine way to get your first month of backyard or property data before deciding whether to upgrade.
4. Bushnell Core DS No-Glow — Best for Discretion True no-glow infrared, dual-sensor technology for better exposure balance between foreground and background, and a genuinely stealthy physical profile. If you’re deploying on a property where you don’t want the camera’s presence obvious — either to wildlife or to two-legged visitors — this is the pick.
5. GPS-Tagged Cellular Trail Cameras (various brands) — Best for Remote Monitoring A newer category worth mentioning: cellular-enabled trail cams that send photos directly to your phone in real time instead of requiring a physical SD card retrieval trip. These come with a data plan cost, and image quality is often a small step down from top-tier standalone cameras due to compression for transmission, but the ability to get a same-day alert instead of finding out three weeks later that something interesting walked by is a genuinely different research workflow, especially for locations you can’t easily revisit often.
The Actually Important Setup Advice
Buying a good camera solves half the problem. Placement solves the other half, and it’s the half most beginners skip. Point cameras along established game trails, not open clearings — animals, real or theoretical, follow paths of least resistance through brush just like humans do. Set the camera at the height of the torso of your target subject, not eye-level for a human, since most trail cams are mis-mounted at a height suited to photographing deer, not a seven-foot hypothetical bipedal primate. And — this is the boring, unglamorous, absolutely critical step everyone skips — let the camera run for at least two to four weeks before drawing any conclusions from what it does or doesn’t capture. A single night of nothing tells you nothing. A month of consistent, documented nothing is actually useful data.
The Actual Takeaway
A trail camera won’t settle the Bigfoot question, obviously — if it were that simple, millions of hunters running these cameras across North America for the last two decades would have settled it by now, and that absence of definitive footage is itself a real, if imperfect, data point worth sitting with. But a good trail camera setup, run patiently and documented honestly, is about as close as an amateur researcher gets to actual scientific rigor in this hobby. Buy the best one your budget allows, aim it at a real game trail, and give it time. Worst case, you get great photos of your neighbor’s dog. Best case, you get something nobody can wave away as a shaky, panicked, adrenaline-blurred human account.
Next up: the Flatwoods Monster — West Virginia’s other, weirder, criminally underrated cryptid that nobody talks about.